.gif)


⚡ Launch Your Solar Company Website in Minutes with Webflow
Need a website for your solar company? Whether you're starting fresh or updating an outdated site, Webflow templates offer a quick and professional solution. This guide will walk you through the process of selecting, customizing, and publishing your website, complete with visual aids to guide you at each step.
🌞 Why Use Webflow Templates?
Webflow templates provide a streamlined approach to website creation:
- No Coding Required: Customize designs without writing a single line of code.
- Professional Designs: Access a variety of templates tailored for solar and renewable energy businesses.
- Responsive Layouts: Ensure your site looks great on all devices.
- Built-in CMS: Easily manage and update your content.
🔍 Finding the Right Template
Step 1: Explore Webflow's Template Marketplace
- Navigate to the Webflow Templates page.
- Use the search bar to find templates related to "solar" or "renewable energy."
Visual Aid:

Step 2: Filter for CMS Templates
- Select the "CMS" filter to find templates that support content management systems, allowing for easy blog integration.
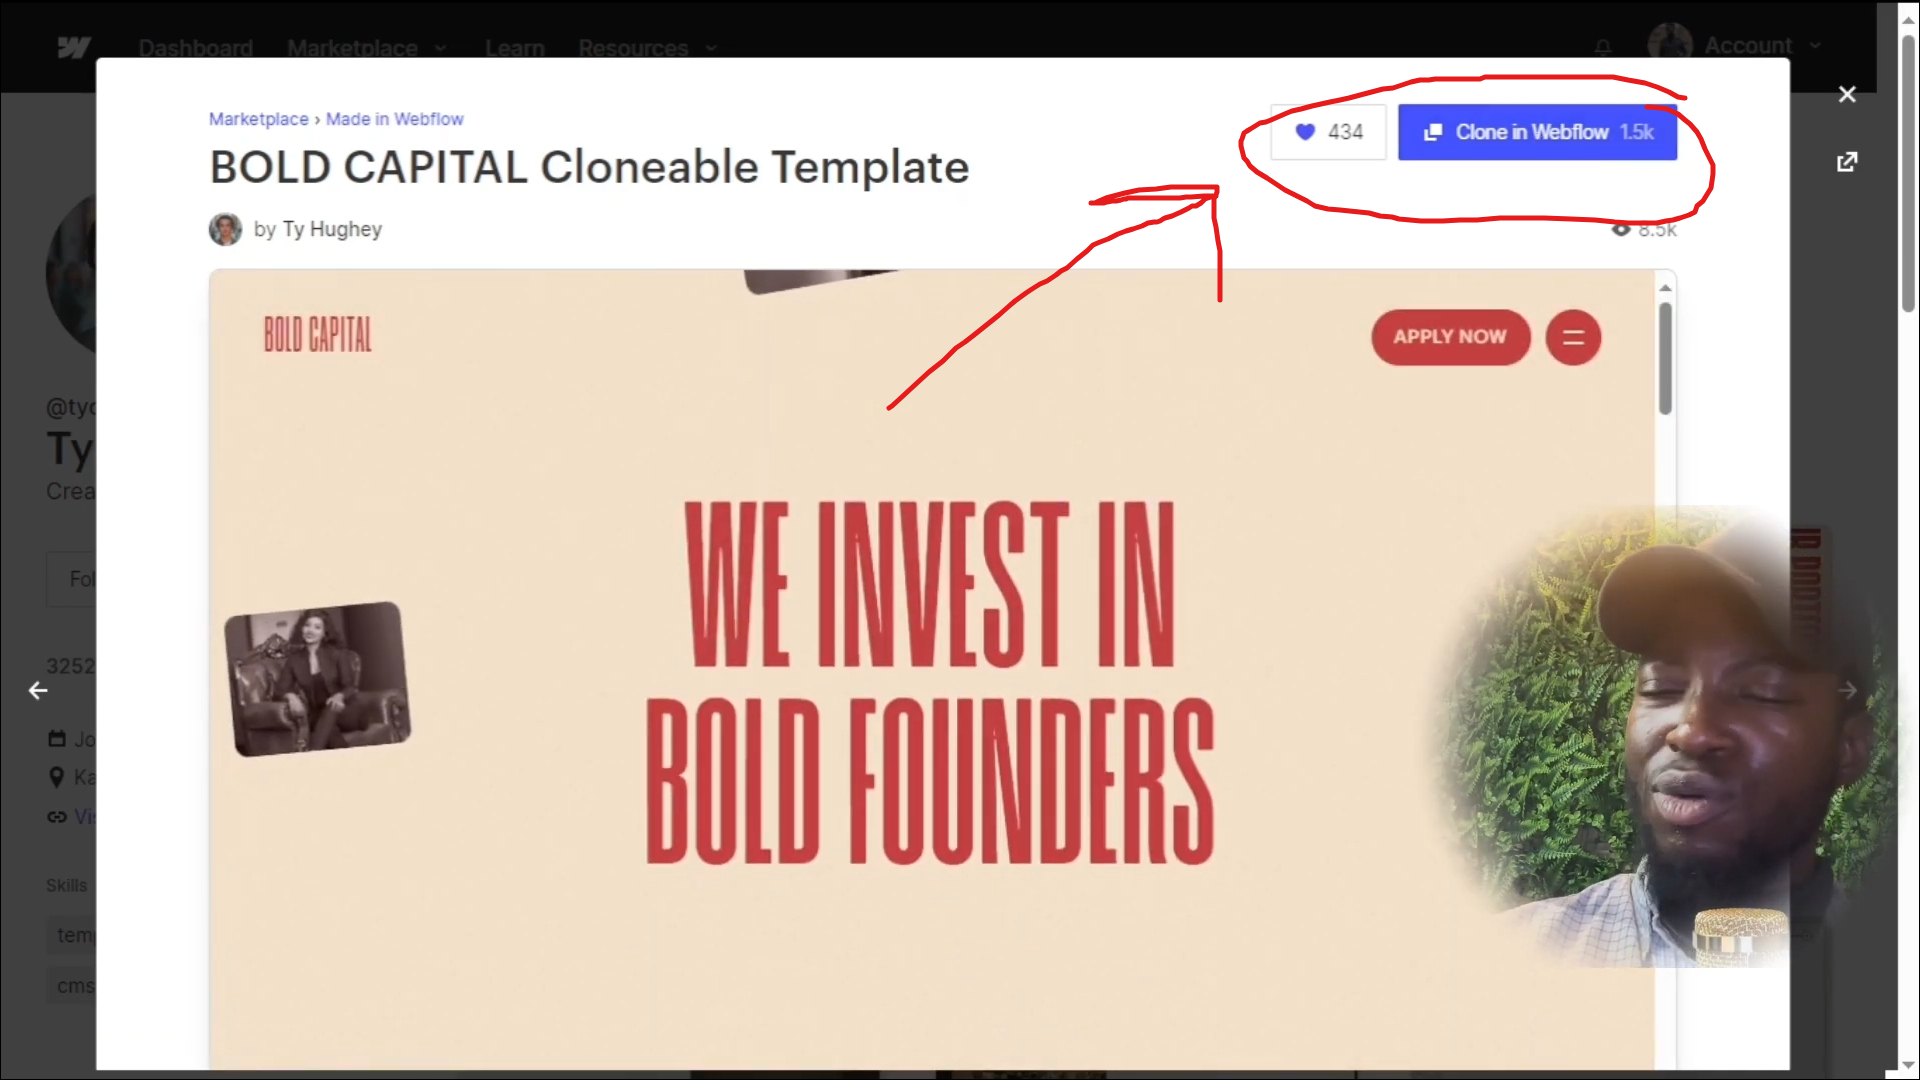
Step 3: Look for Cloneable Templates
- Cloneable templates are free to use and customize. Look for the "Clone" button on the template preview.
Visual Aid:

Recommended Templates:
- Solarsis: Designed specifically for solar panel businesses and renewable energy companies.
- Bright Solar: Combines modern design with responsive layouts and SEO optimization.
- Energy X: Offers multiple homepage and blog layouts for renewable energy companies.
🛠️ Cloning and Customizing Your Template
Step 1: Clone the Template
- Click the "Clone" button on your chosen template to add it to your Webflow dashboard.
Visual Aid:
Step 2: Rename Your Project
- In your Webflow dashboard, rename the project to match your company name, e.g., "Sample Solar."
Step 3: Edit Text Content
- Double-click on text elements to edit them directly, similar to editing a Word document.
Step 4: Replace Images
- Click on image elements to replace them with your own photos or free stock images from sites like Pexels.
Step 5: Customize Colors
- Use the Style panel to change background colors, text colors, and other design elements to match your brand.
✂️ Quick Editing Tips
- Delete Unnecessary Sections: Select the section and press the "Delete" key.
- Change Text Color: Highlight the text and choose a new color from the color picker in the Style panel.
- Access Dashboard Panel: Press the "Z" key to bring out the dashboard panel for quick access to elements.
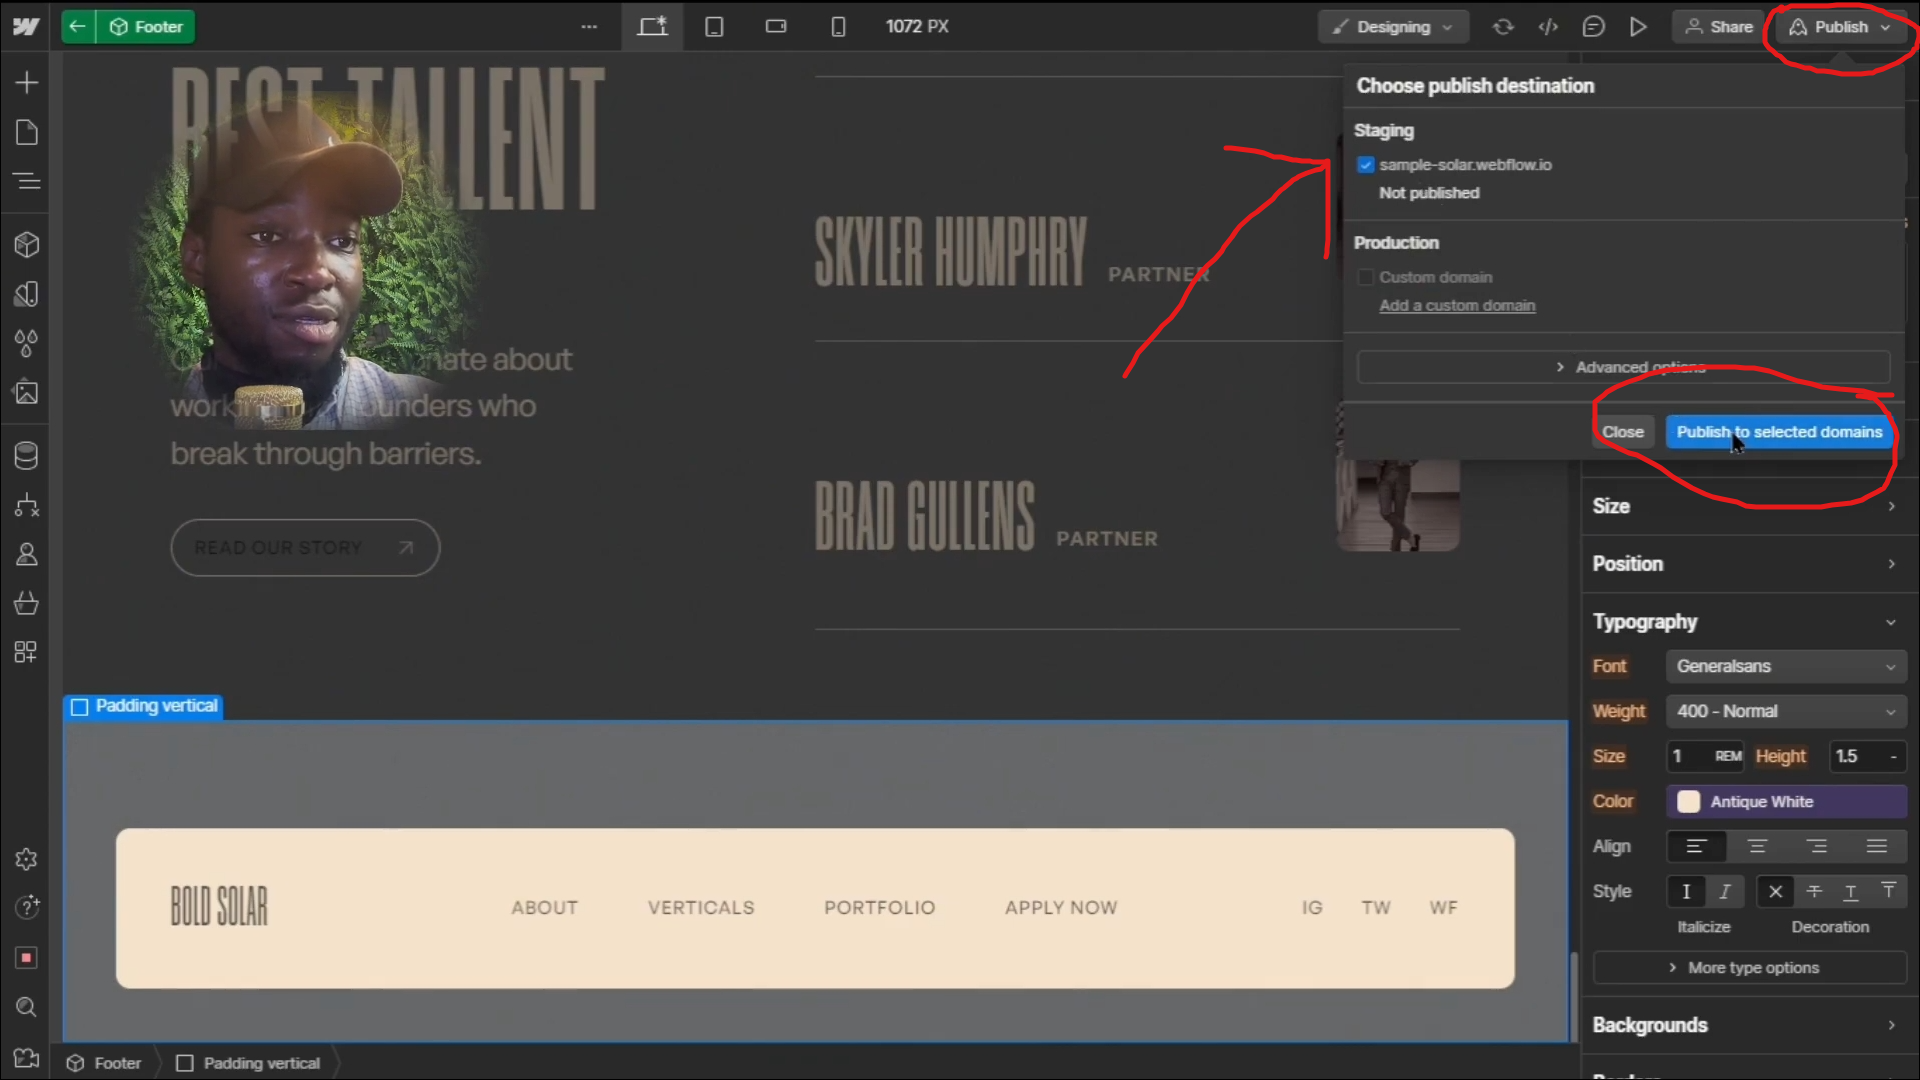
🚀 Publishing Your Website
Once you're satisfied with your customizations:
- Click the "Publish" button in the top-right corner of the Webflow Designer.
- Choose the domain(s) you wish to publish to and confirm.
Visual Aid:
Full YouTube Video: https://youtu.be/wqtnnuxvtOY

